Classic bread recipe
Pão Francês
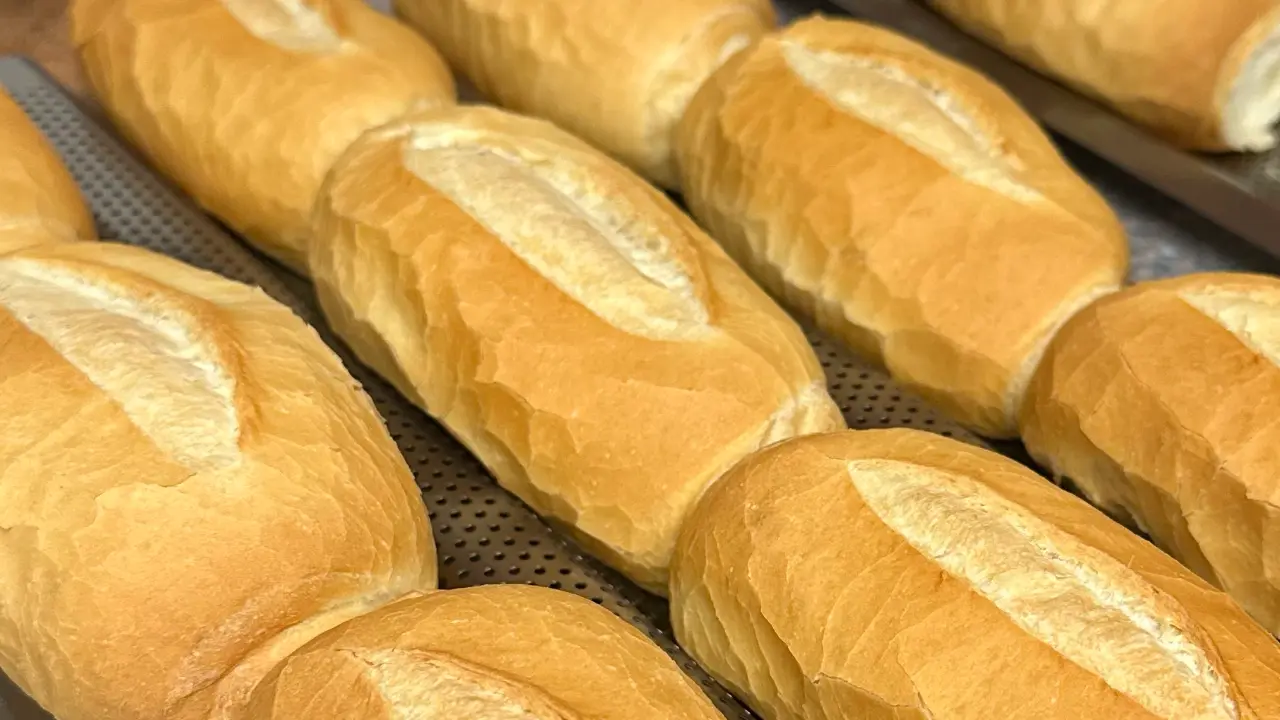
Every bakery in Brazil serves "Pão Francês." If you are a Brazilian like me living abroad, this nostalgic recipe will make you feel right at home. The catch? You must use precise measurements and add steam to your oven. I bake a batch weekly and freeze it for fresh, daily bread. Come into my lab to learn how to bake, freeze, and reheat it to achieve that fresh-out-of-the-oven taste.
Advertisement
Advertisement
Equipment Needed
Gather these tools before you start.
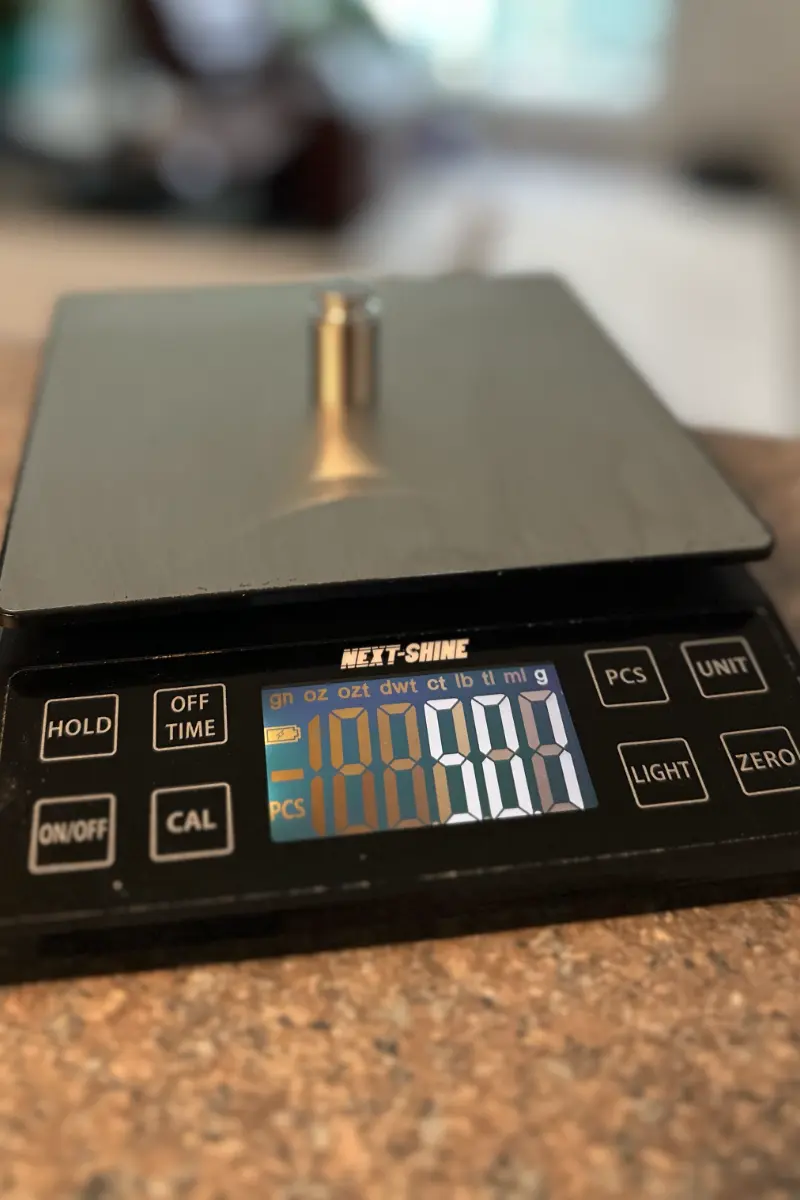
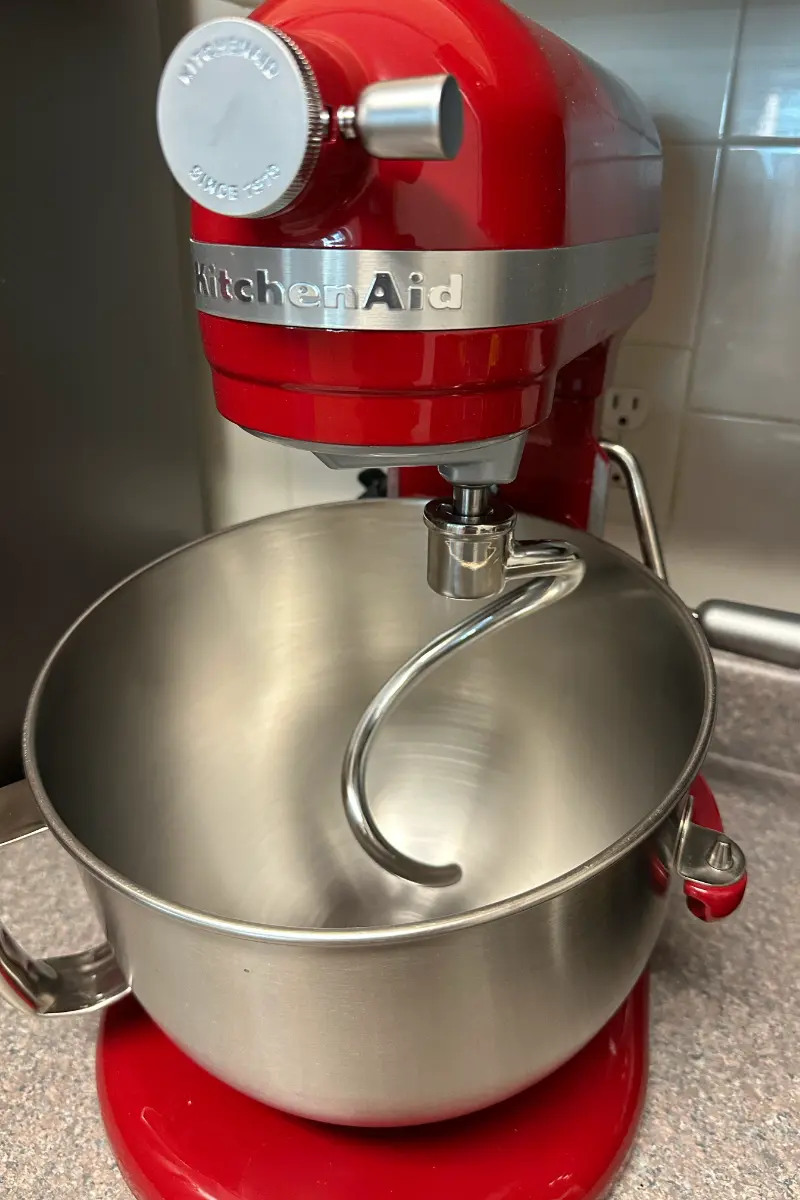
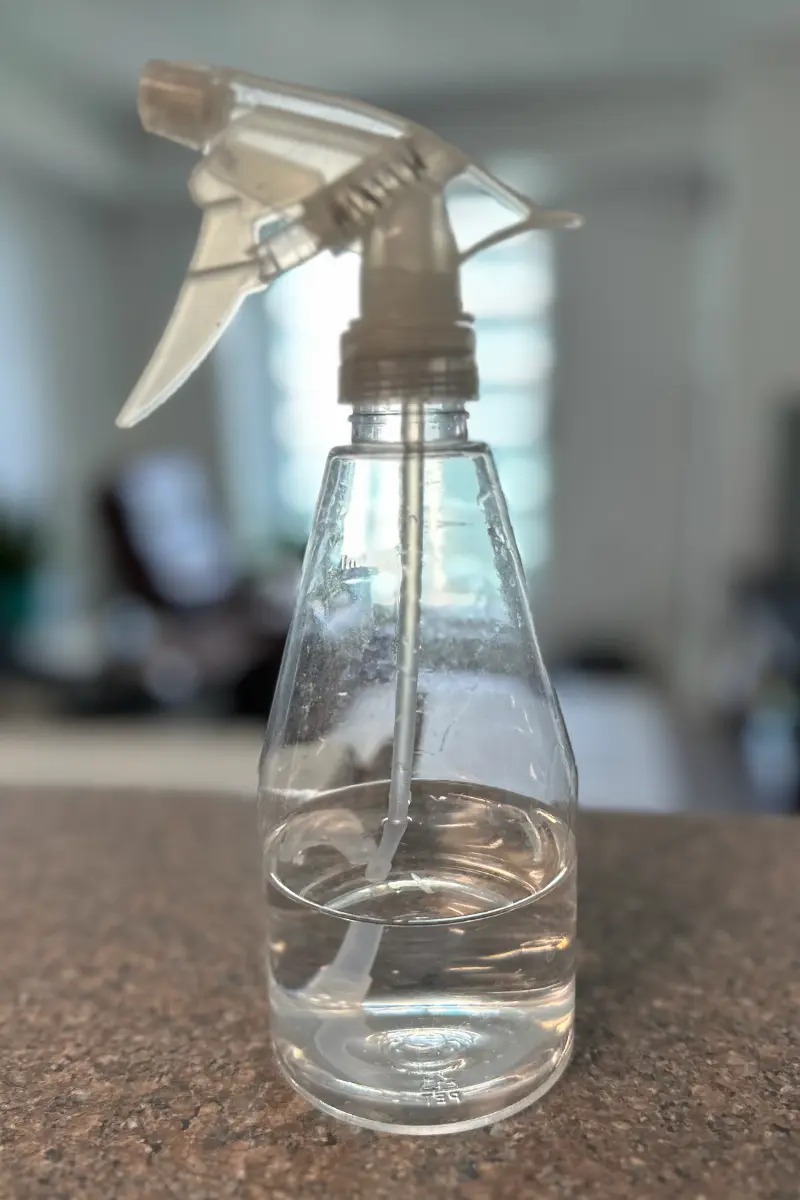
Advertisement
Instructions
Follow these steps for perfect results.
- Mixing30 min
- Resting1 h 16 min
- Shaping36 min
- Baking1 h
Total3 h 22 min
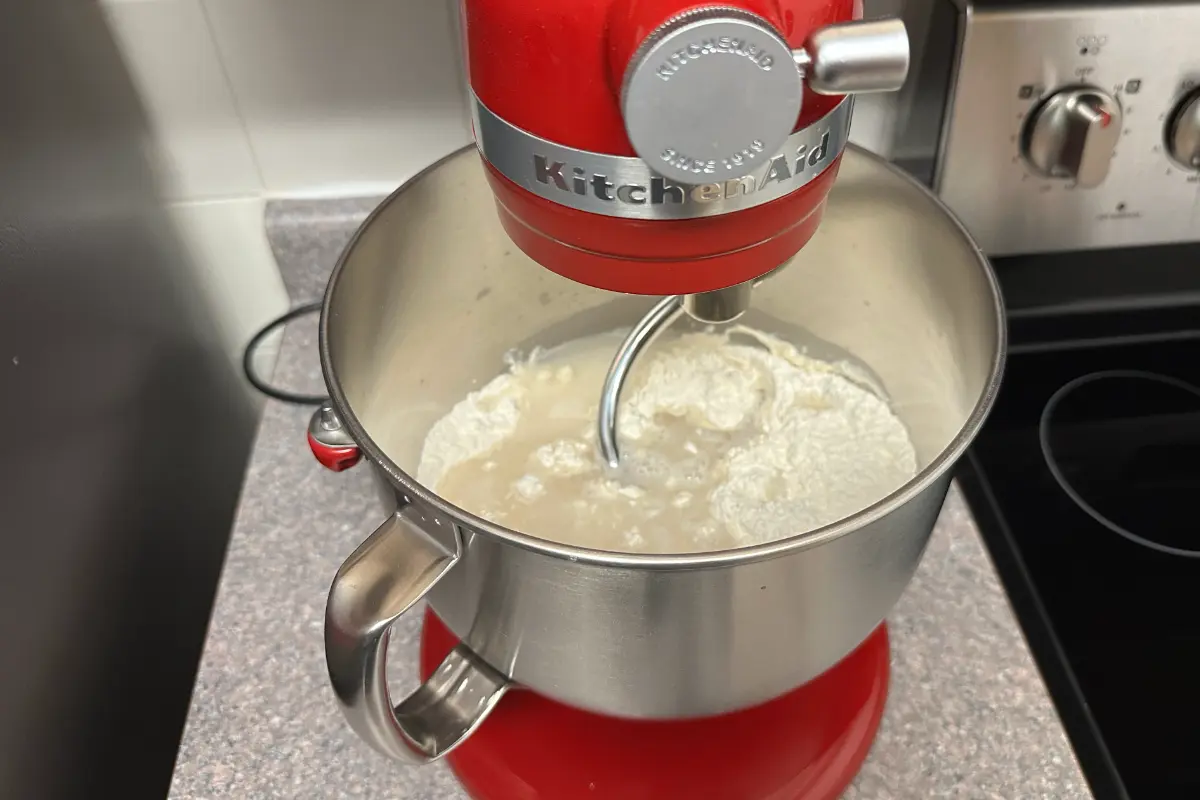
- 15 min Add all the dry ingredients to the mixer bowl and mix well with a spoon. Then pour in the water. Hold off on adding the butter for now; you'll add it later to help develop the dough.
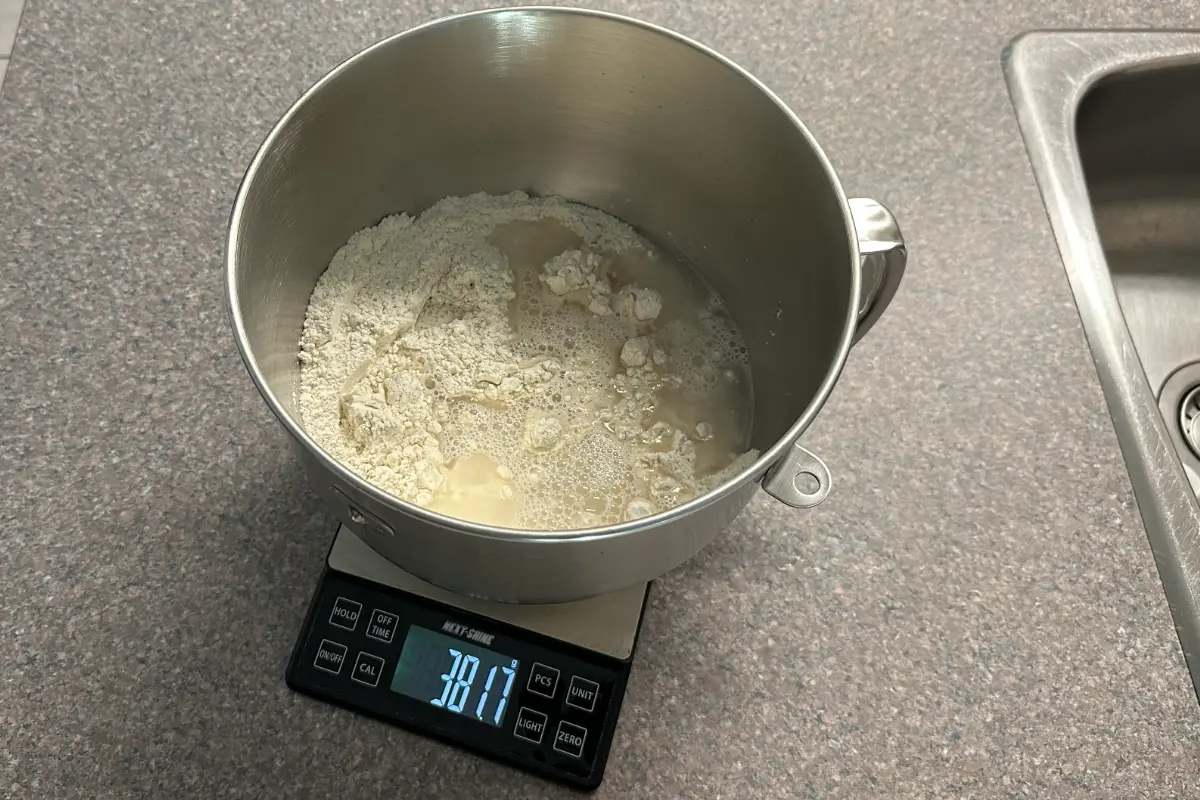
- 210 min Mix for 10 minutes at speed 2.
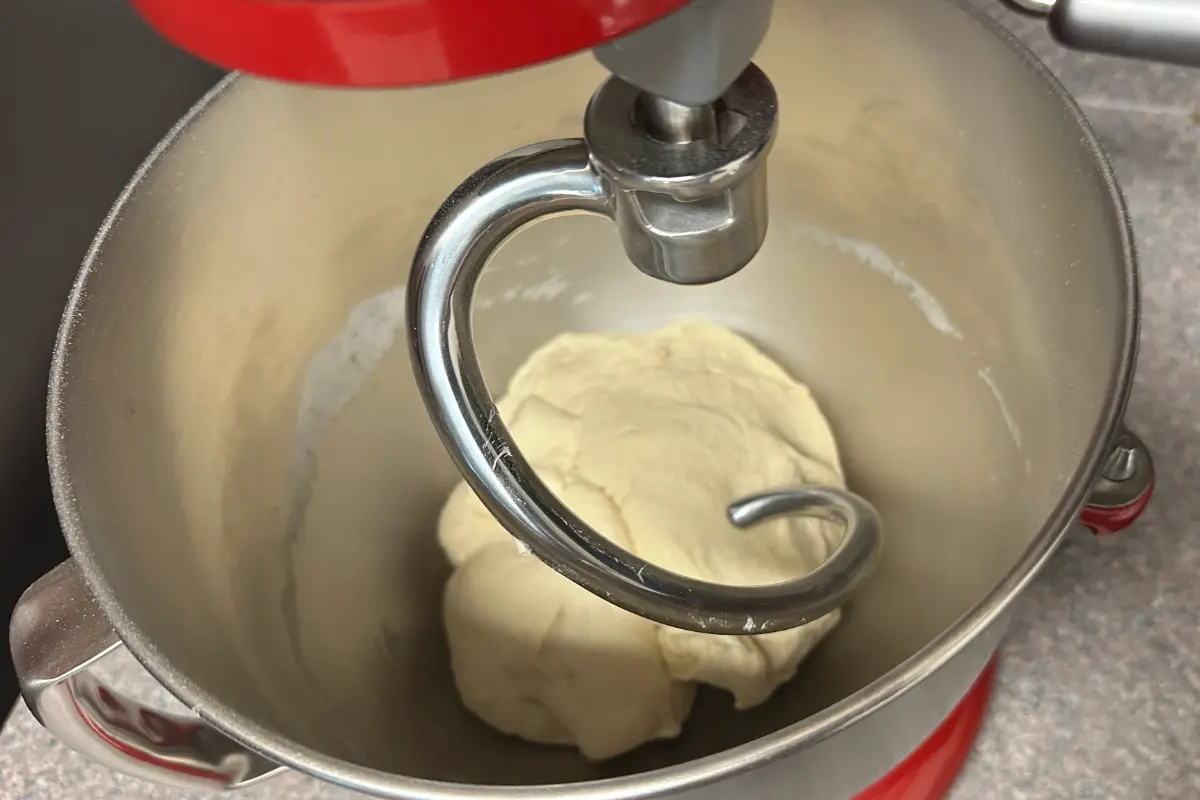
- 35 min Let it rest for 5 minutes.
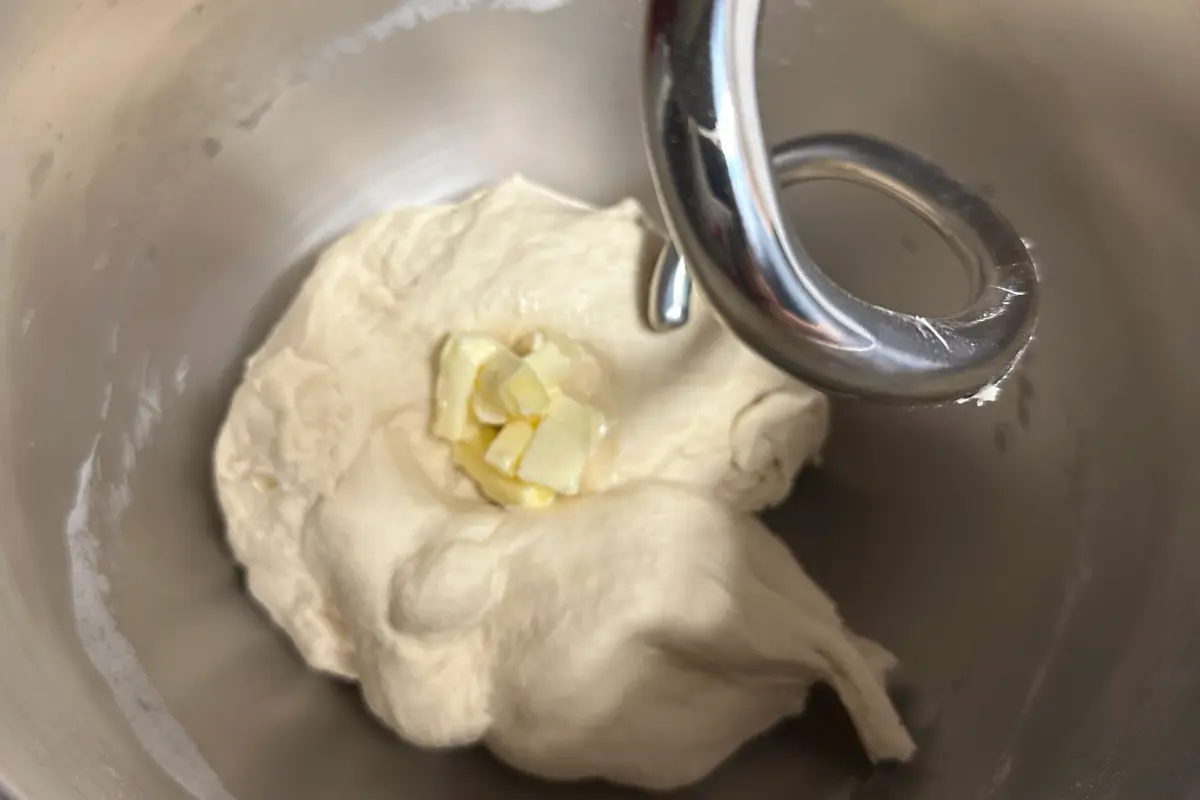
- 410 min Add the butter and mix at speed 2 for 10 minutes.
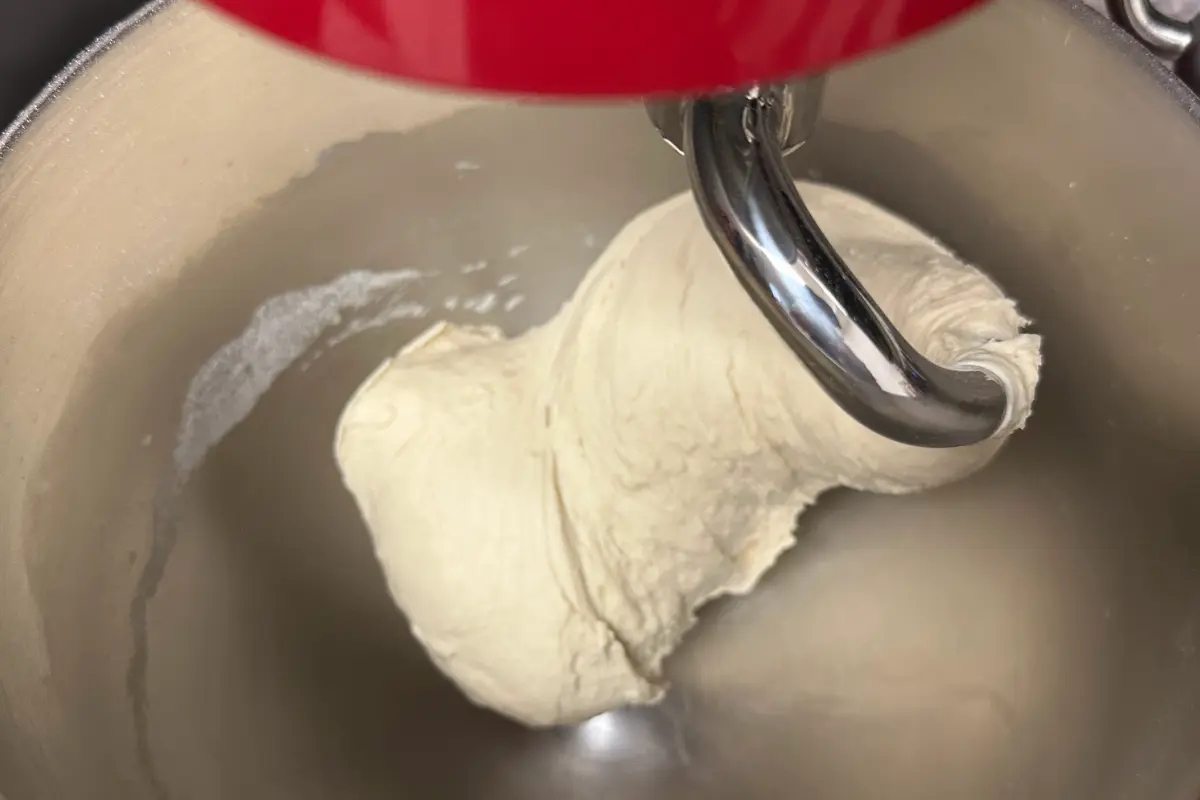
- 5— The mixing is complete.
- 615 min Wrap the dough in plastic wrap and let it rest in the fridge for 15 minutes.
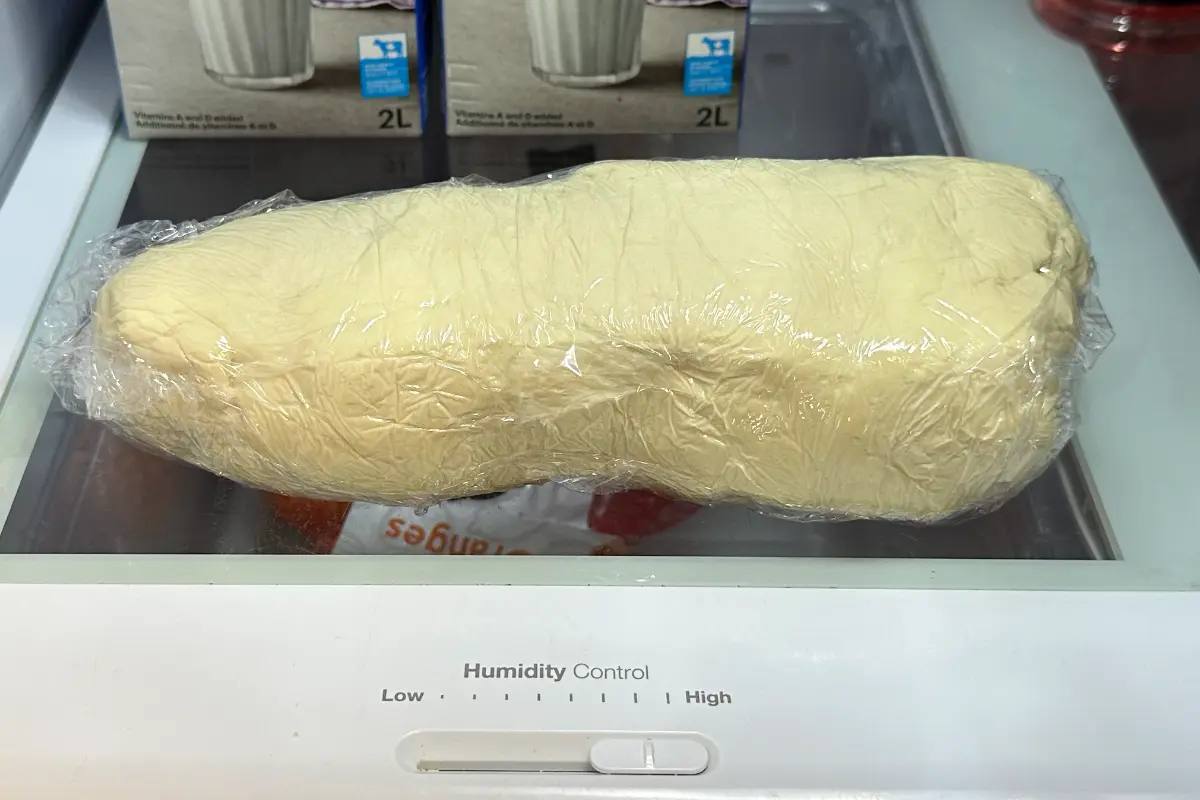
- 7— Portion the dough equally according to the specified quantity and weigh each part. Always cover the dough with plastic wrap to keep it from drying out.
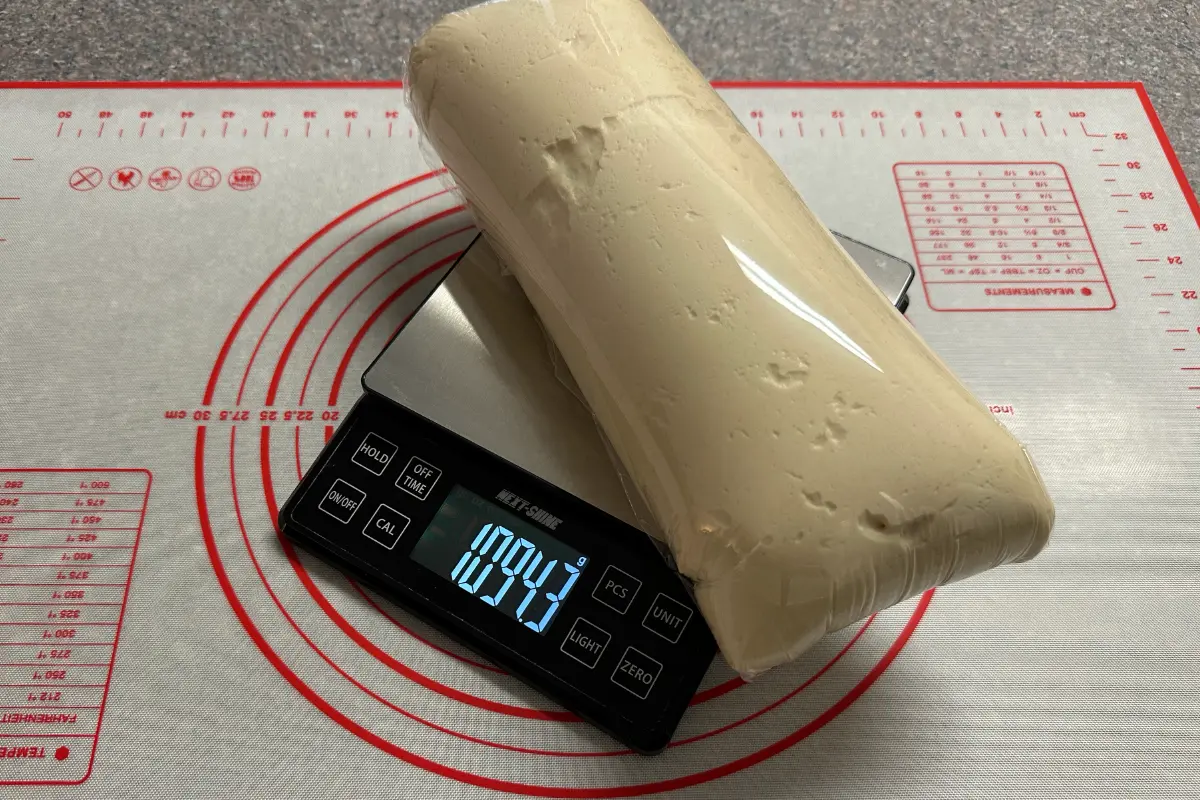
- 8— Keep all portions the same weight for even baking.
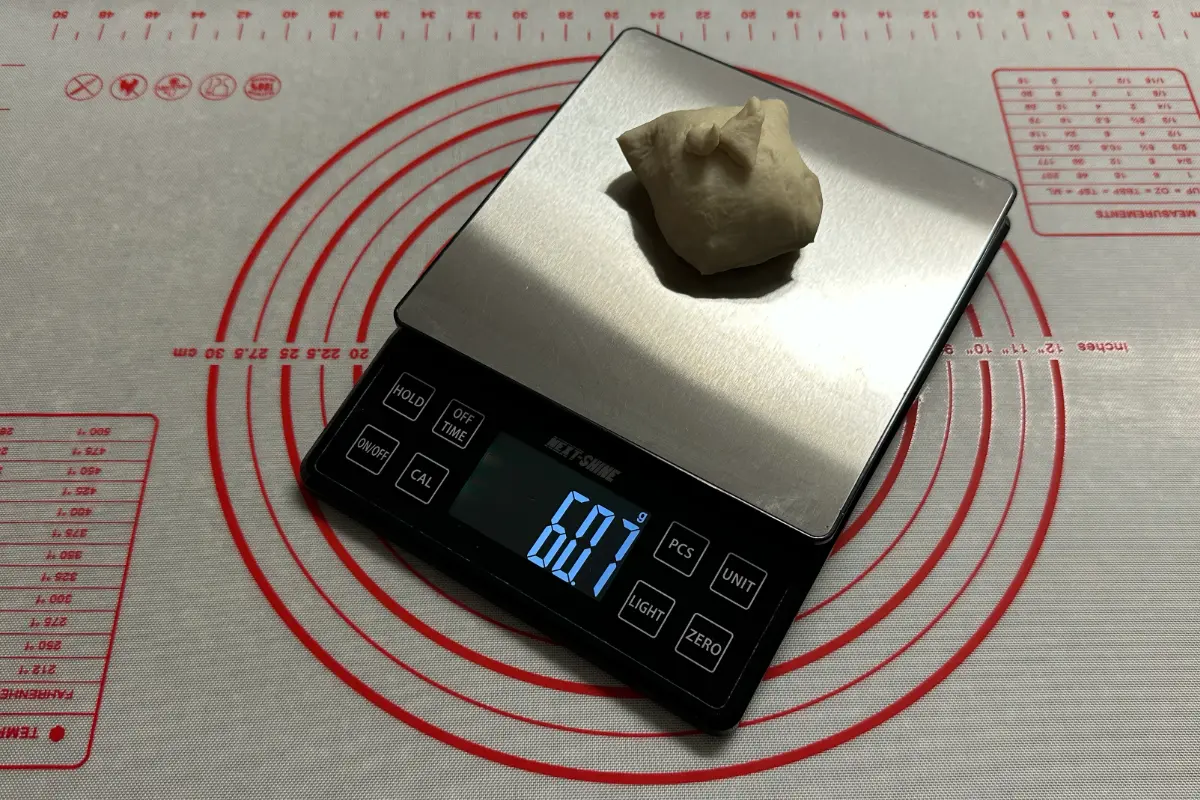
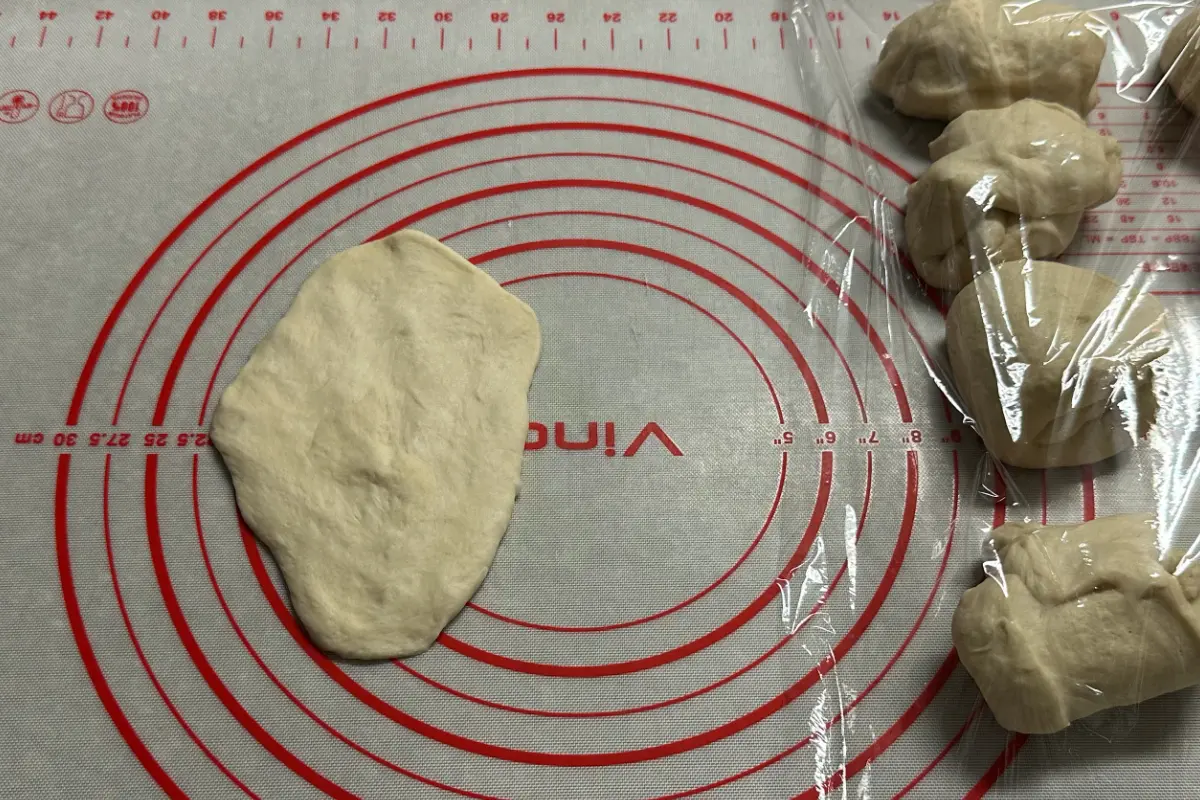
- 9— To make the loaf, flatten it with the palm of your hand.
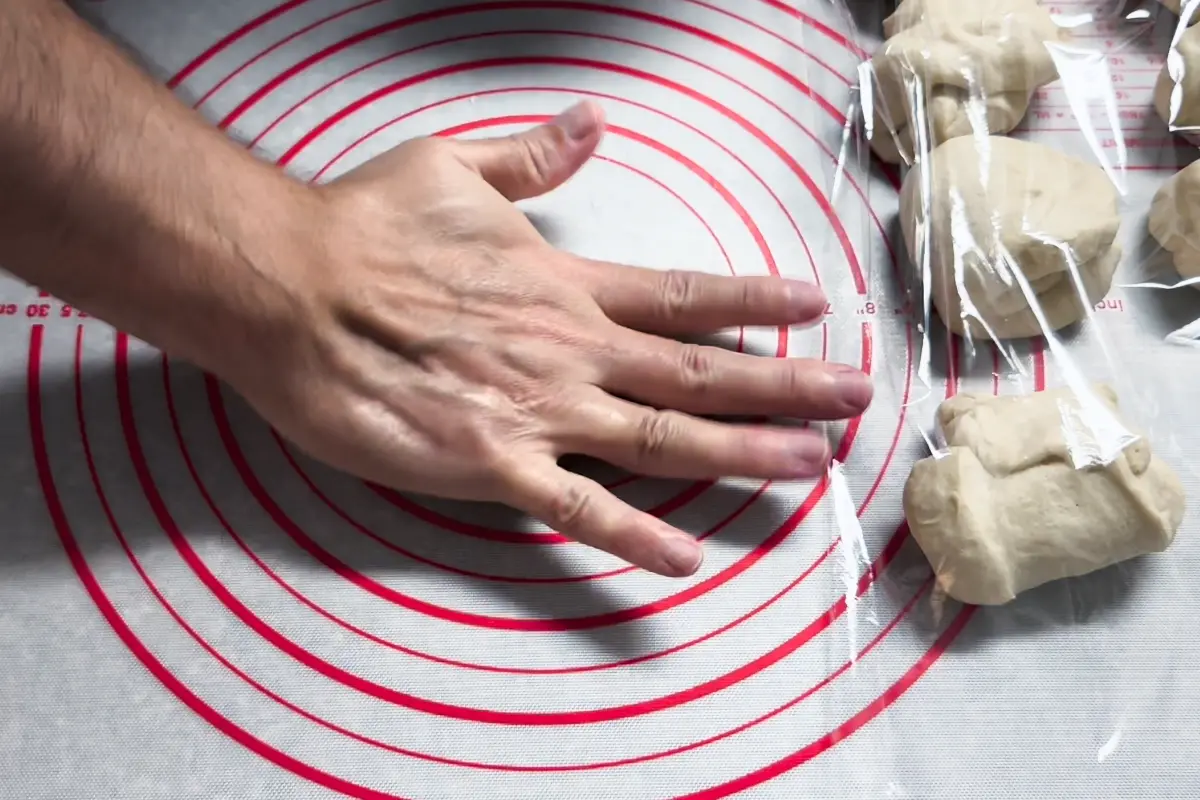
- 10— It doesn't have to be perfect; a rough outline is perfectly fine.
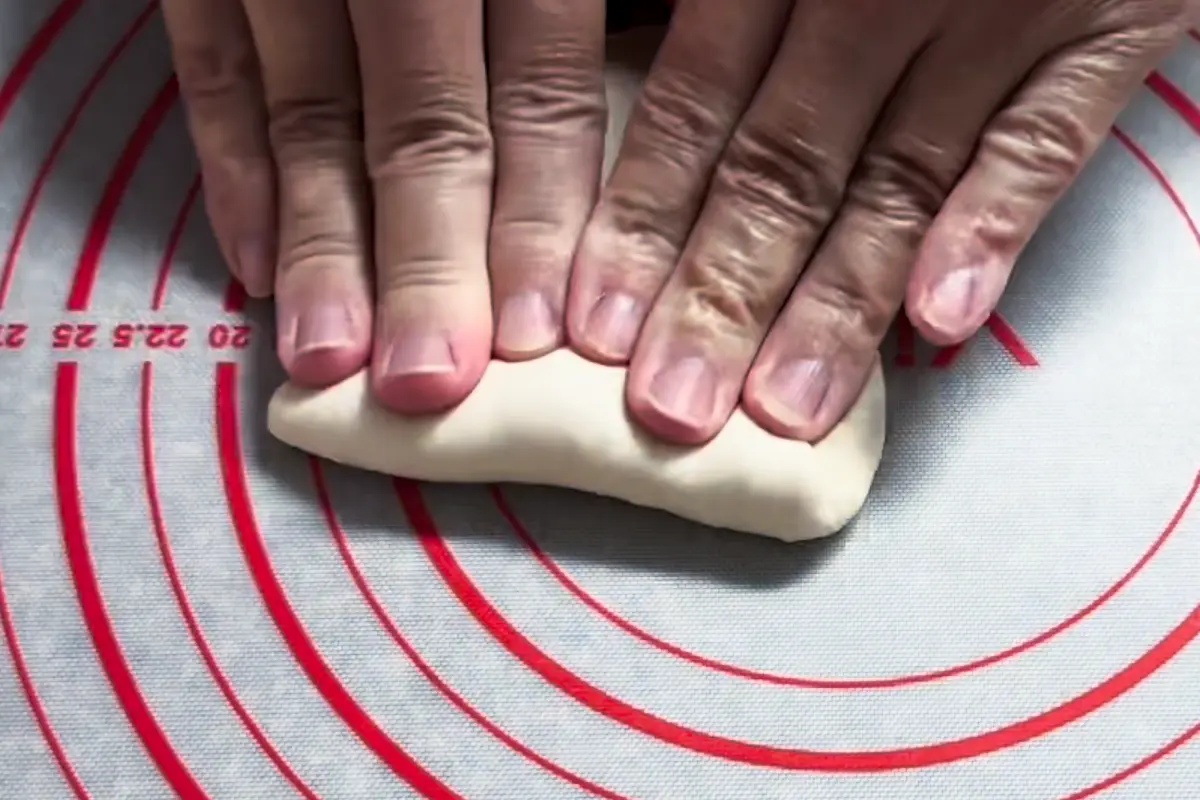
- 11— Start by rolling it with your fingers from the top, then press and roll back and forth a few times with the palm of your hand to ensure a good seal.
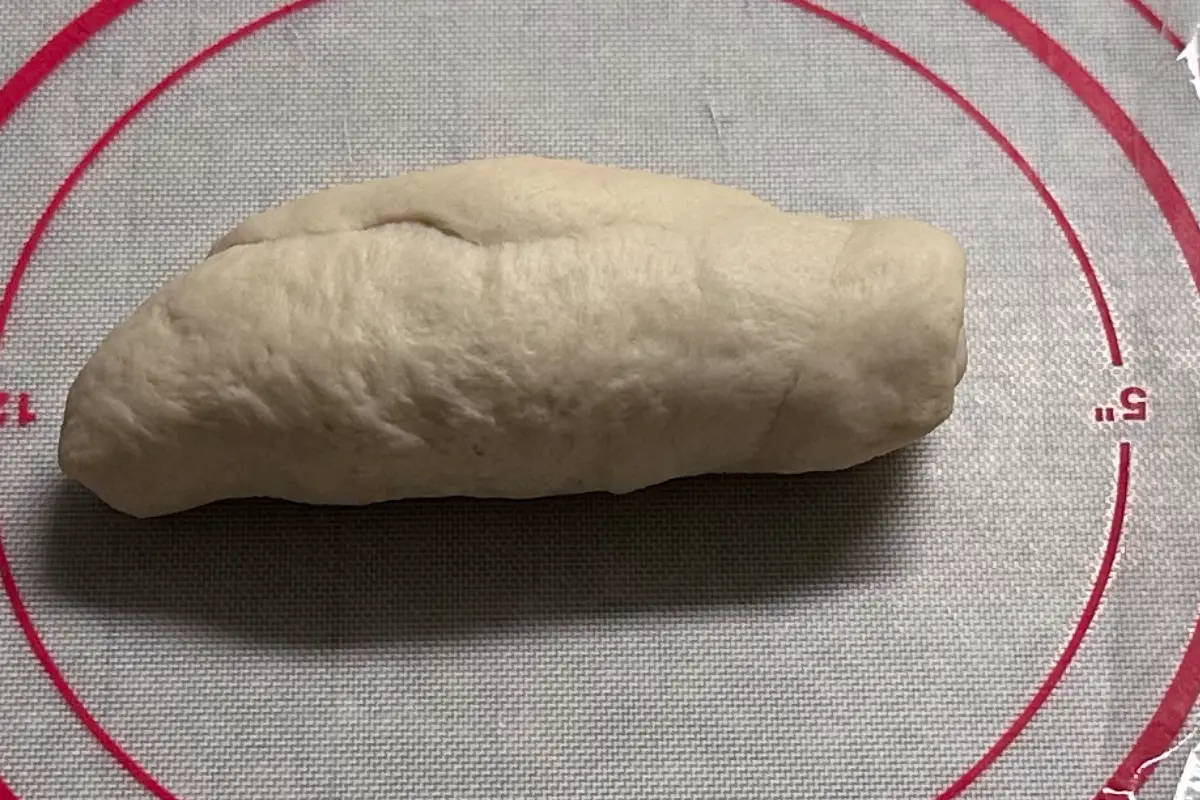
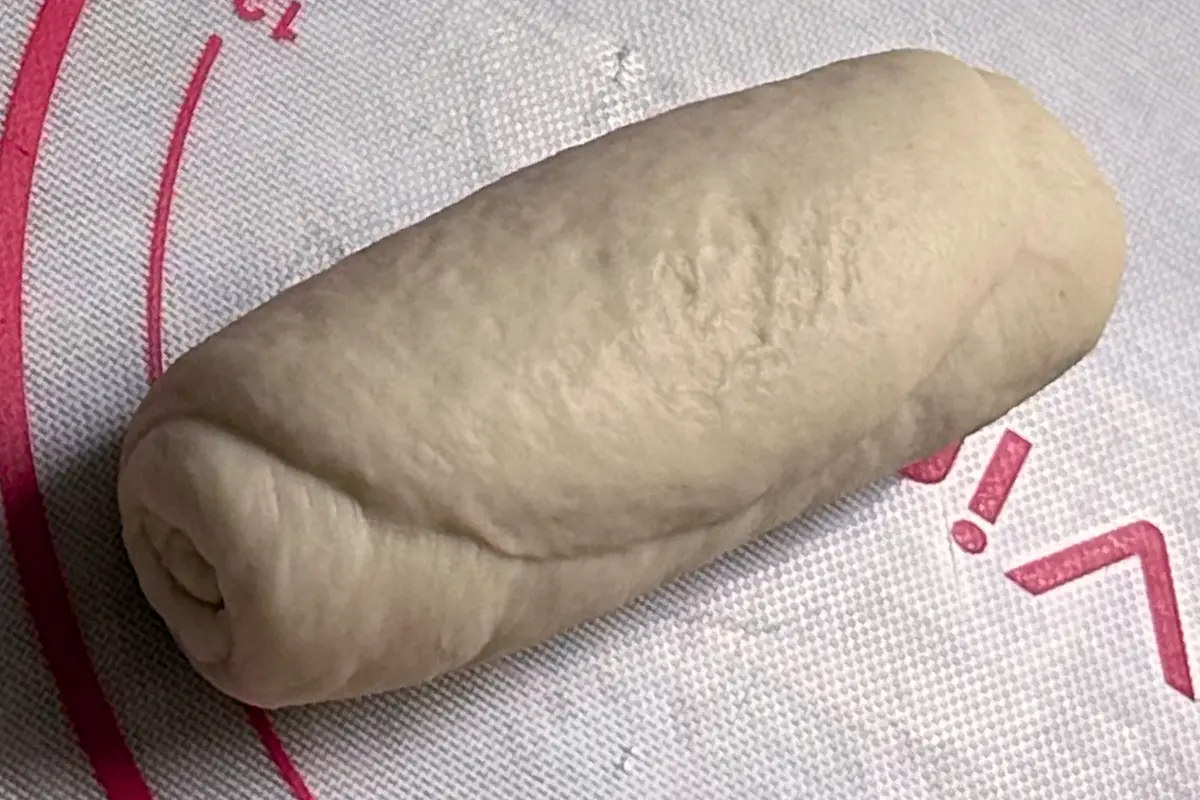
- 1218 min ×18 The pre-shaped loaf should look like this. Pre-shape all first, then move to the next step.
- 13— Place the pre-shaped loaf with the seam facing up and flatten it with the rolling pin. Make the end slightly thinner for a good finish. Then roll it from the top with your fingers.
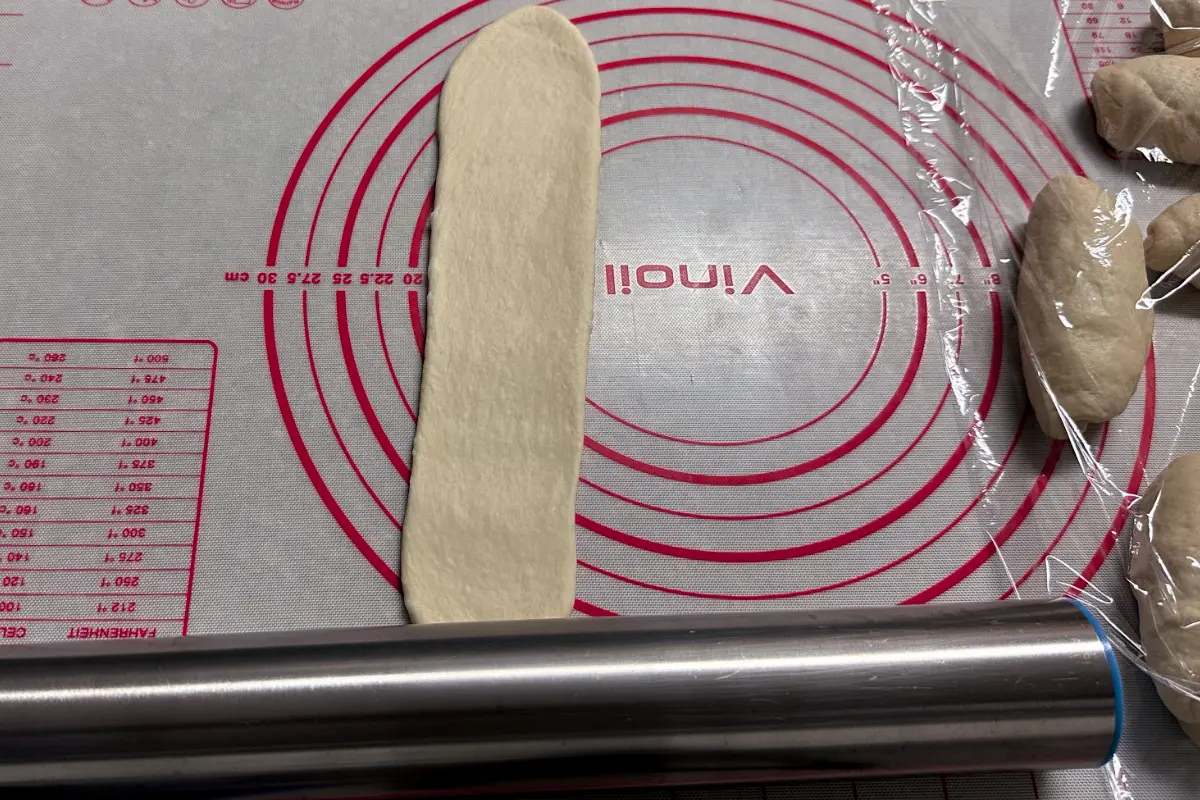
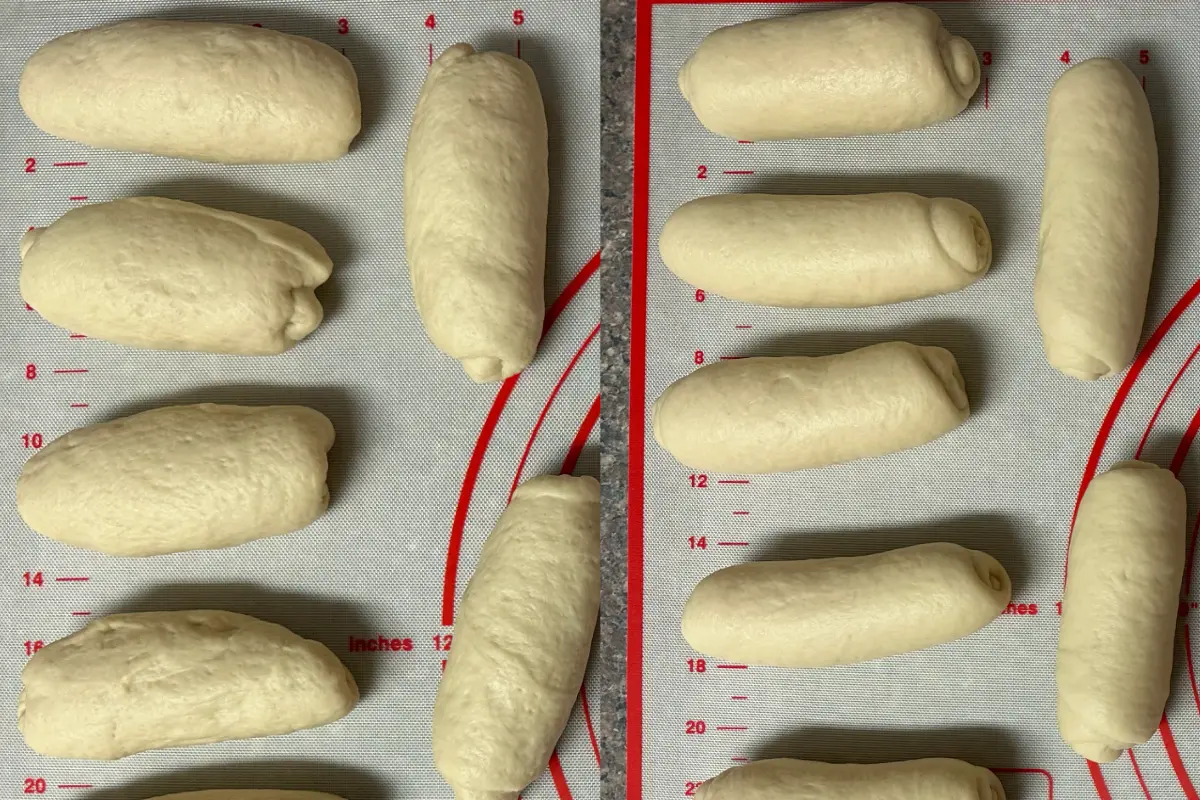
- 1418 min ×18 The shaped loaf should look like this. Repeat until all loaves are shaped.
- 15— For comparison, the pre-shaped loaves are on the right, and the shaped loaves are on the left.
Advertisement
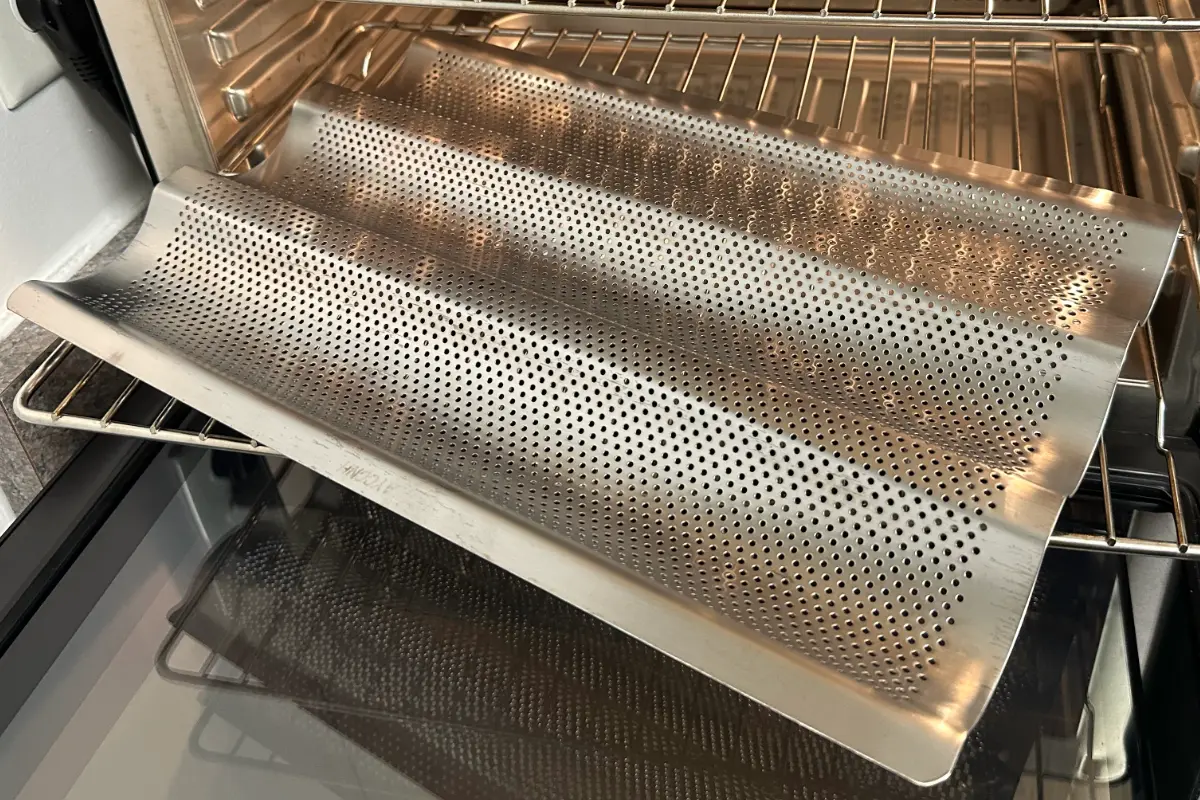
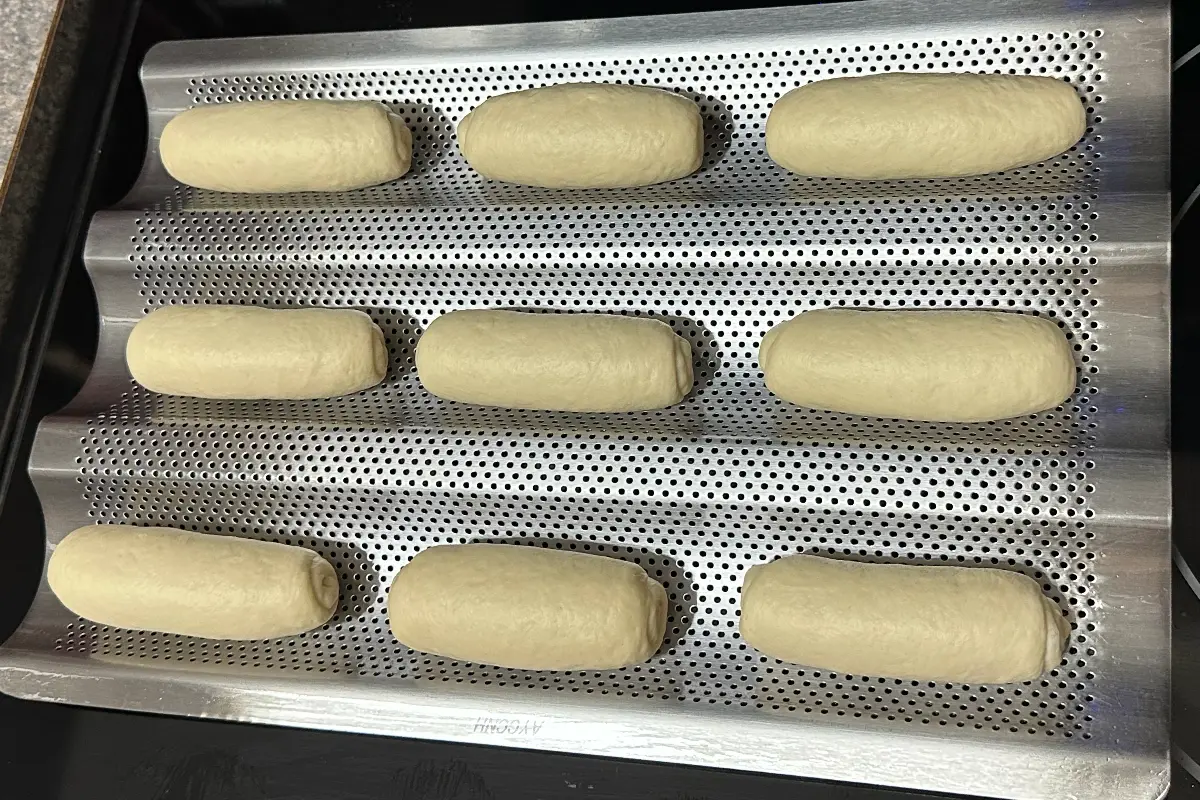
- 161 min Using oil spray and a basting brush, grease the perforated tray, then place all shaped loaves in the tray with the join facing down, leaving space around them.
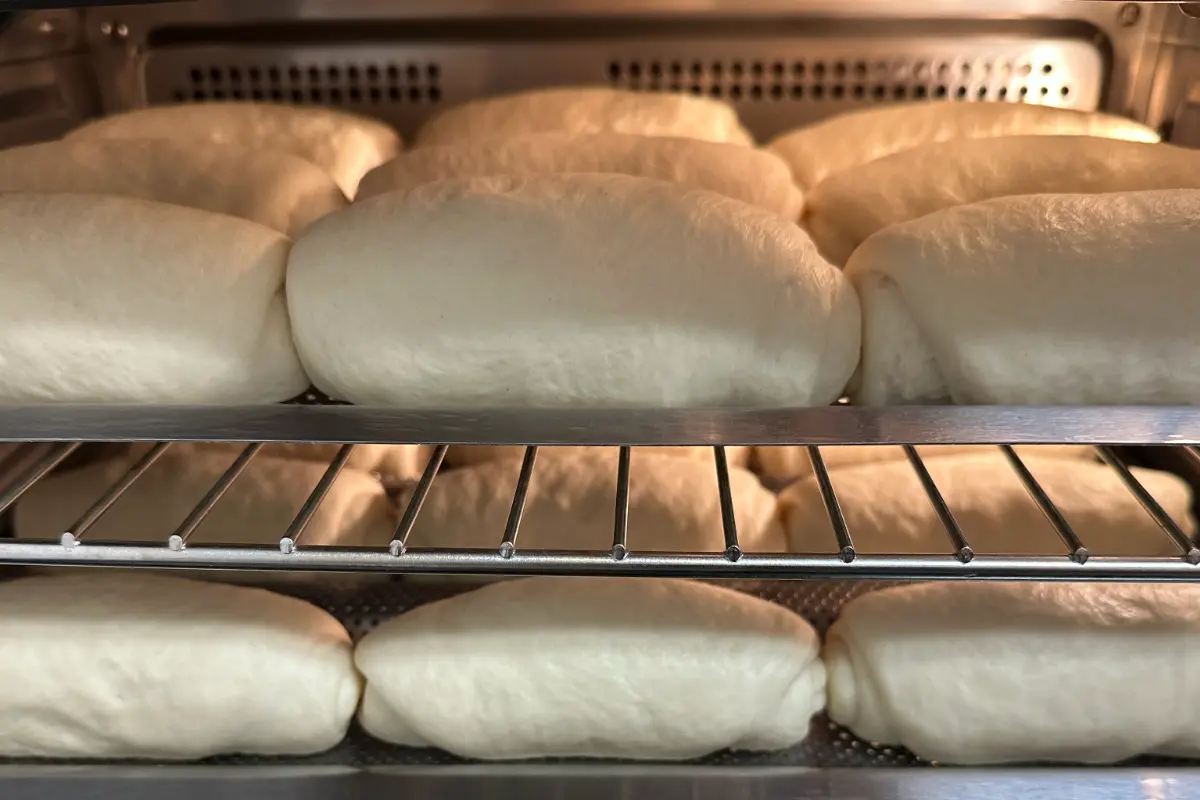
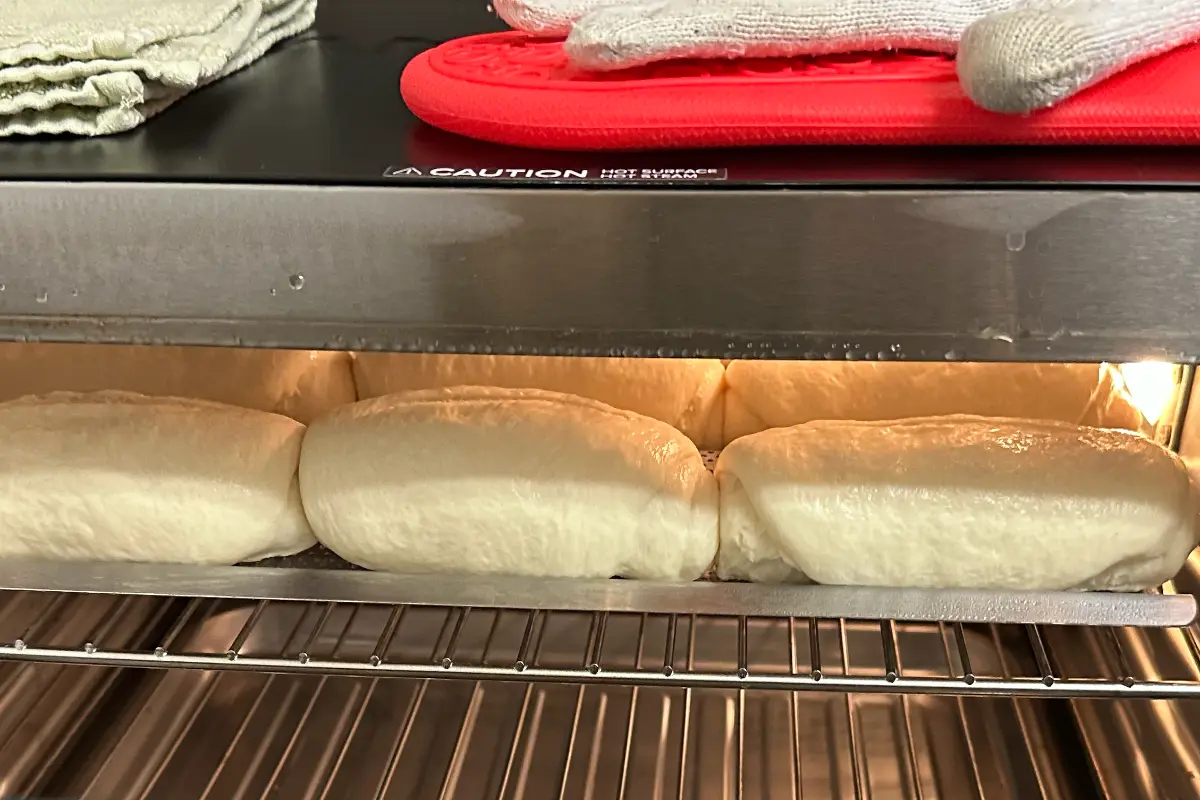
- 171 h Let them rise for 1 hour. I like to keep them in the oven so they are not exposed to drafts. You can also cover them with plastic wrap. The loaves should double in size.
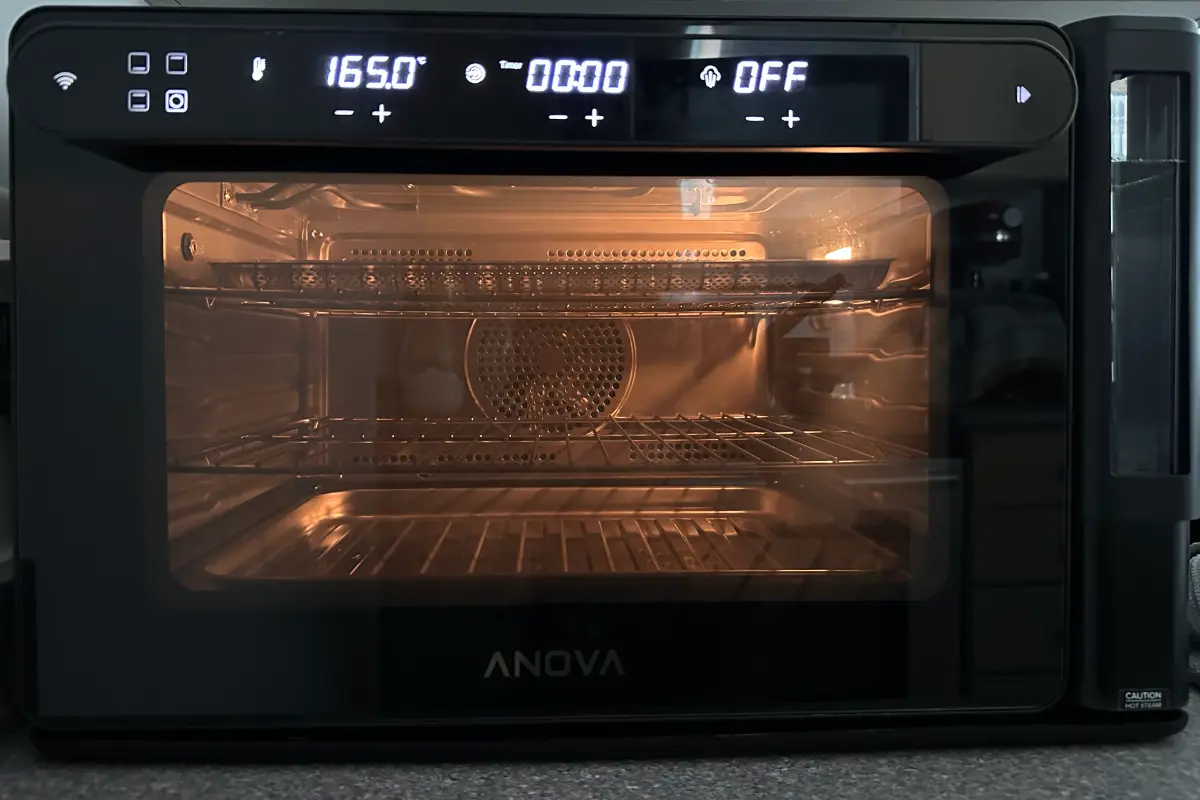
- 185 min 175°C · Rear heat · 100% steam · 100% fan · Rack 0 Preheat the oven using the settings above. If your oven does not have a steam function, you can place a baking tray with water at the bottom of the oven.
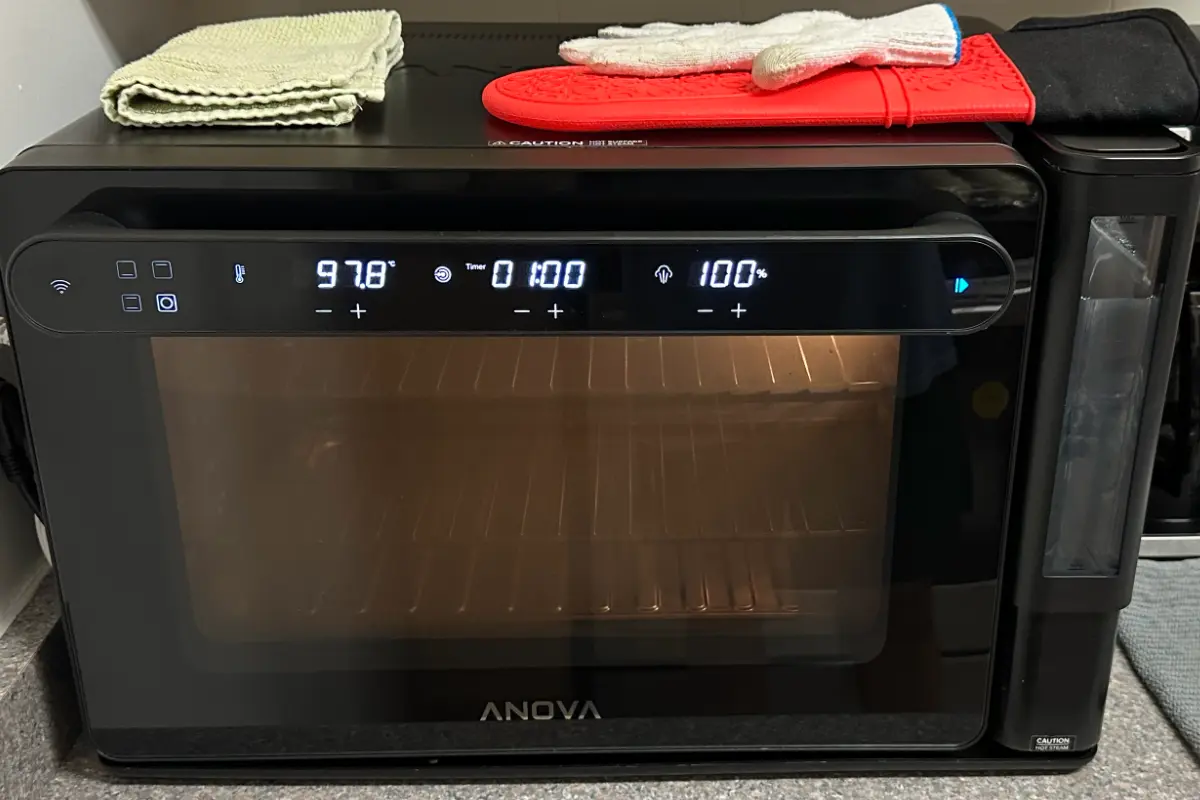
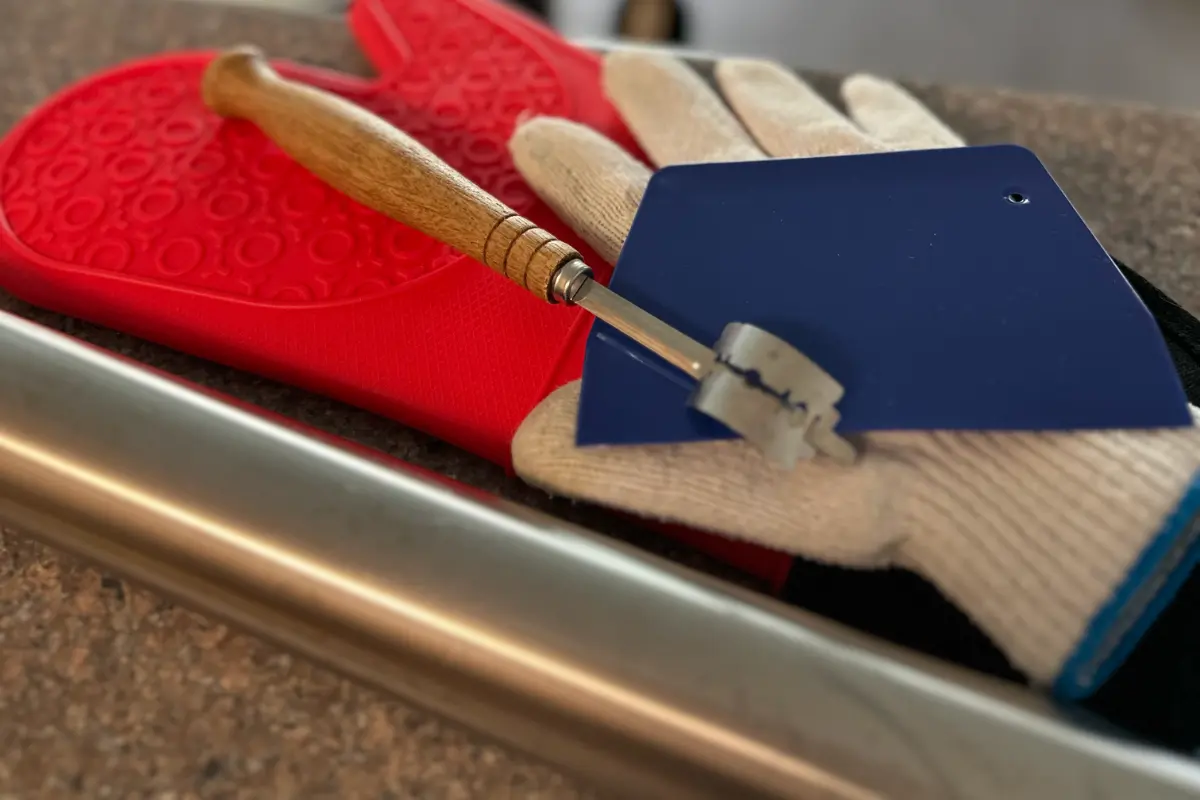
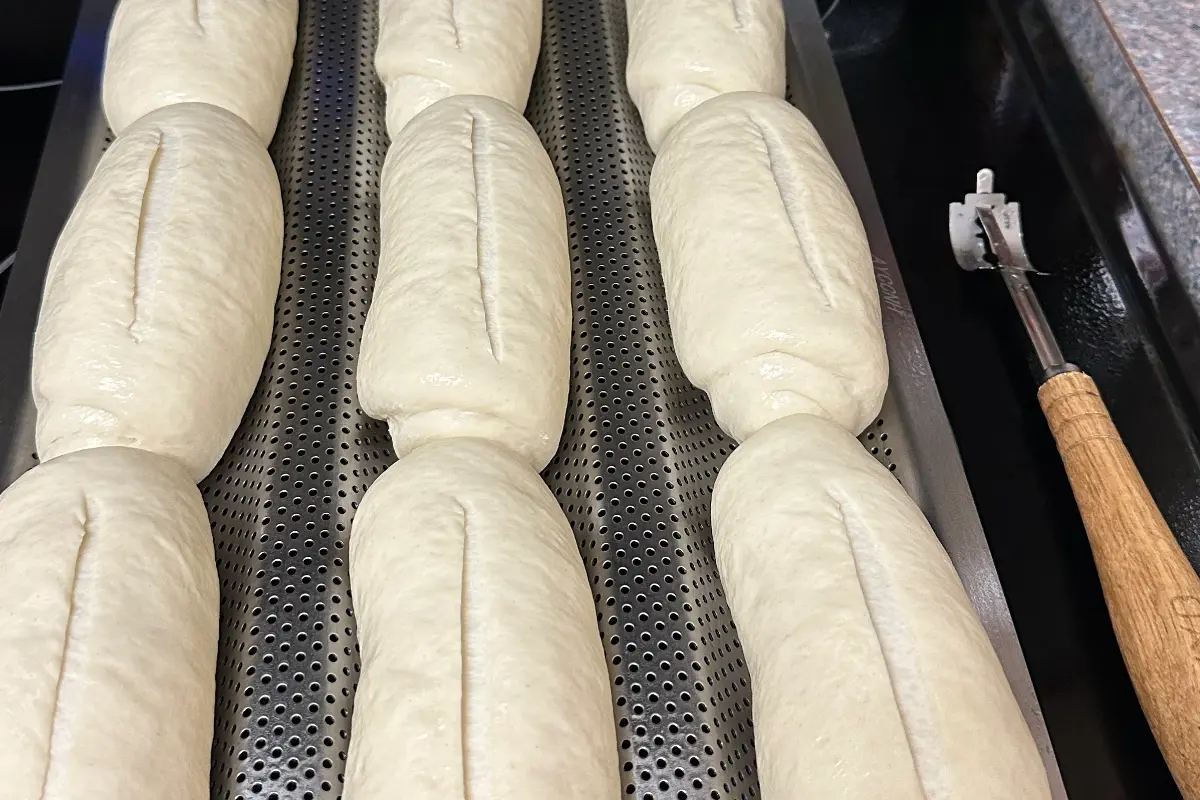
- 192 min ×2 Spray a fine mist of water on the loaves five times so they become extra moist and develop a nice crust. Make one 45-degree cut on the top of each loaf with a sharp knife or razor blade.
- 2022 min ×2 165°C · Rear heat · 100% steam · 100% fan · Rack 5 Position the tray on the top rack and bake for 11 minutes. The oven settings are listed above.
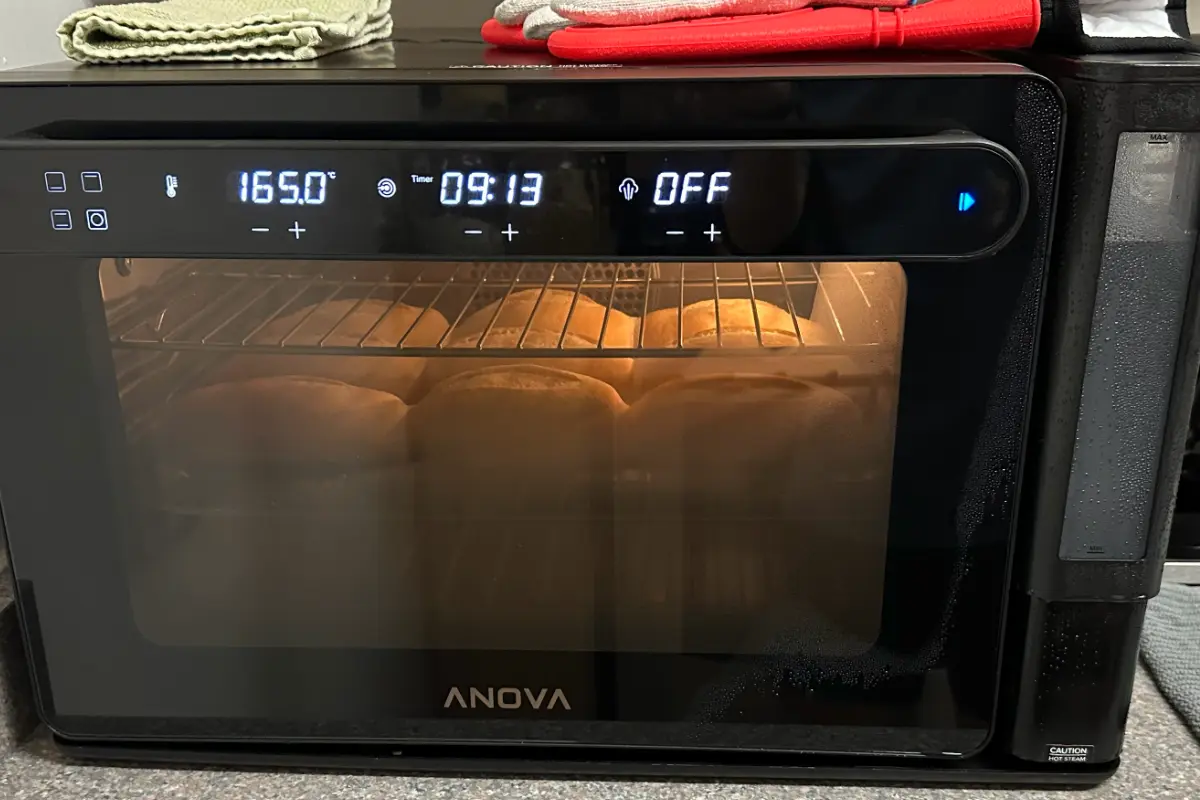
- 2120 min ×2 165°C · Rear heat · 0% steam · 100% fan · Rack 2 Move the tray to the middle rack and rotate it so the darker side faces the door. Remove the steam and bake for 10 more minutes.
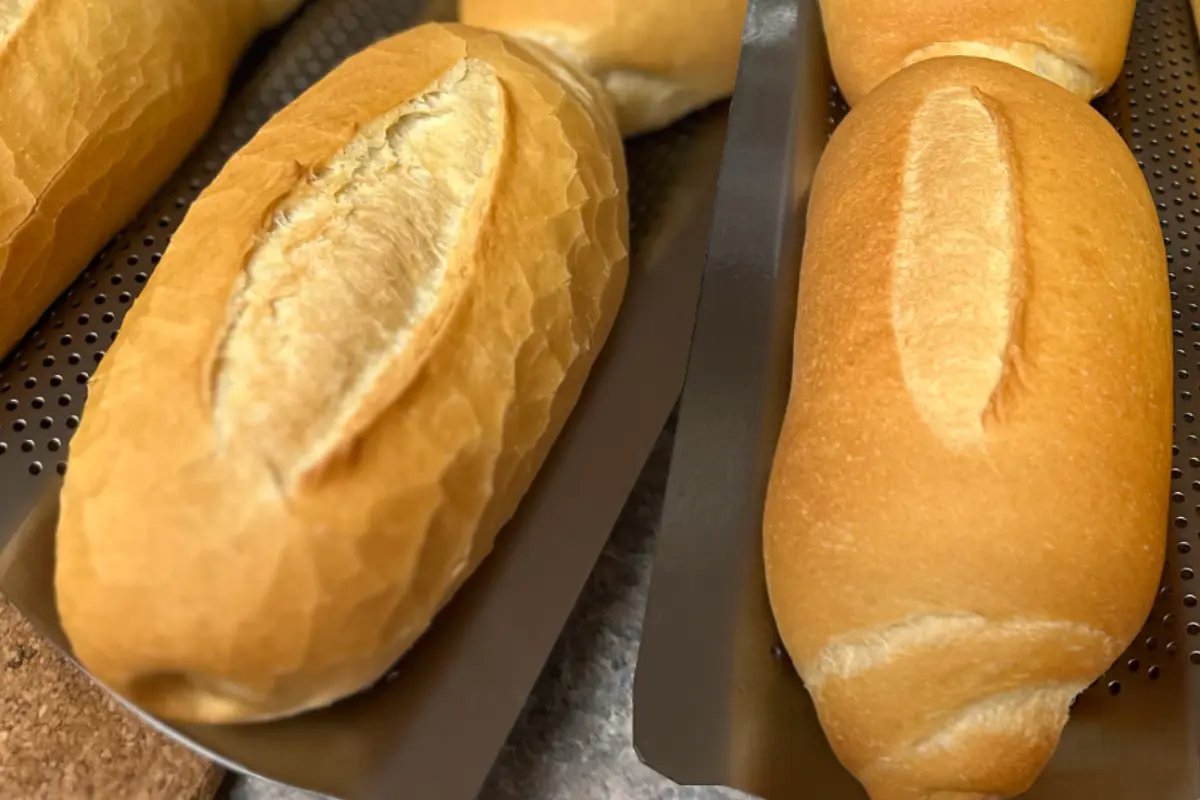
- 2210 min Remove the tray from the oven and let it cool for 10 minutes. You will see that they come out with a nice golden colour and no visible crust (left side). As they cool, you will hear some cracking sounds and the crust will become crispier (right side). The loaves are ready to be served.
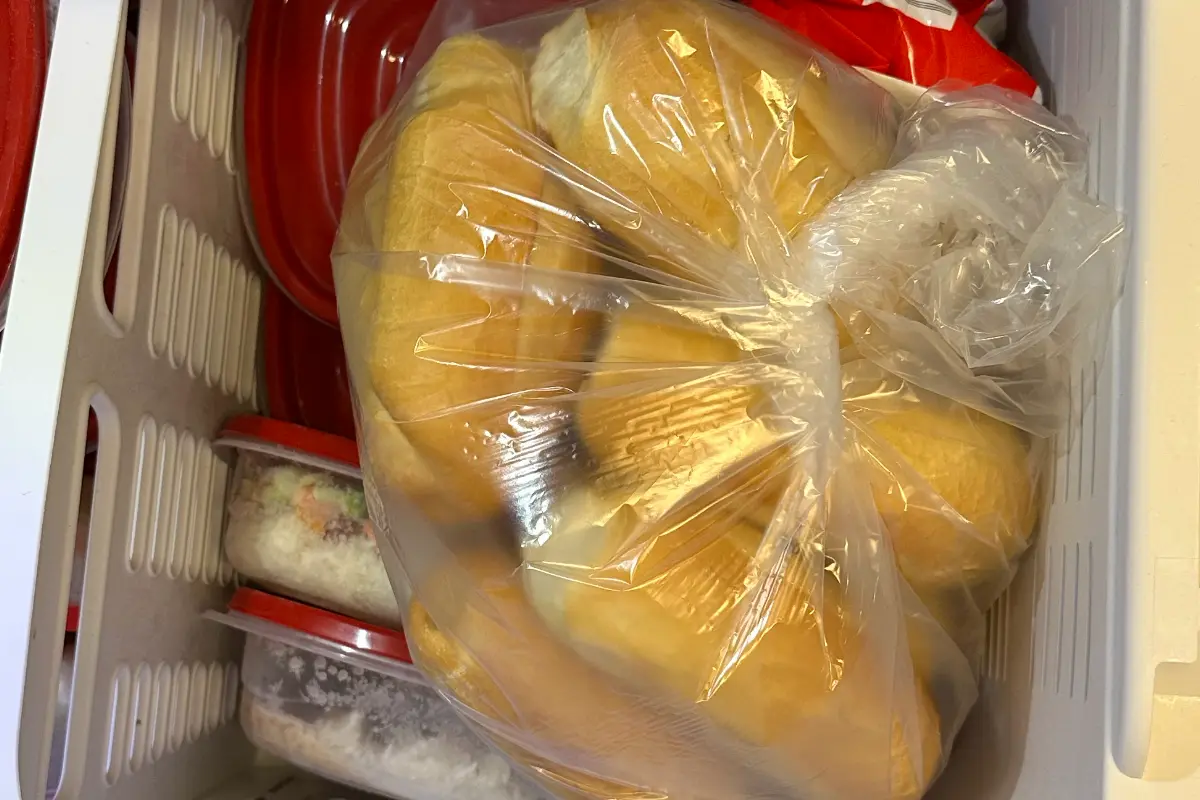
- 231 min You can also freeze the loaves and reheat them in various ways. The most practical is to reheat them straight from the freezer, either in the microwave (20 seconds) or the air fryer. Always let them cool for 5 minutes before serving. They should last about 3 months in the freezer, but I recommend eating them within 2 weeks. Enjoy!
Advertisement